All educational & Resource Articles Are Submitted By Volunteers
When buying chickens—whether it’s your first time or not—it’s always exciting! However, it also requires careful research, which can be time-consuming. To make it easier, I’ve combined much of the essential information you’ll need to get started in this article:
- How to tell if the birds you’re purchasing are healthy.
- How to tell pullets from cockerels.
- How to tell if you’re getting good laying hens.
How to tell if the birds you’re purchasing are healthy
Buying healthy birds is crucial. Ensuring the chickens you purchase are in good health protects your existing flock (if you already have one) and saves you from the added expense and effort of treating potentially sick or injured birds. Here are some important signs to watch for—not only in the birds themselves but also in the environment and practices of the seller as well.
- Check out the farm or coop – Clean and well-maintained farms are a good indication of proper hygiene and sanitation, reducing the likelihood of disease in their birds.
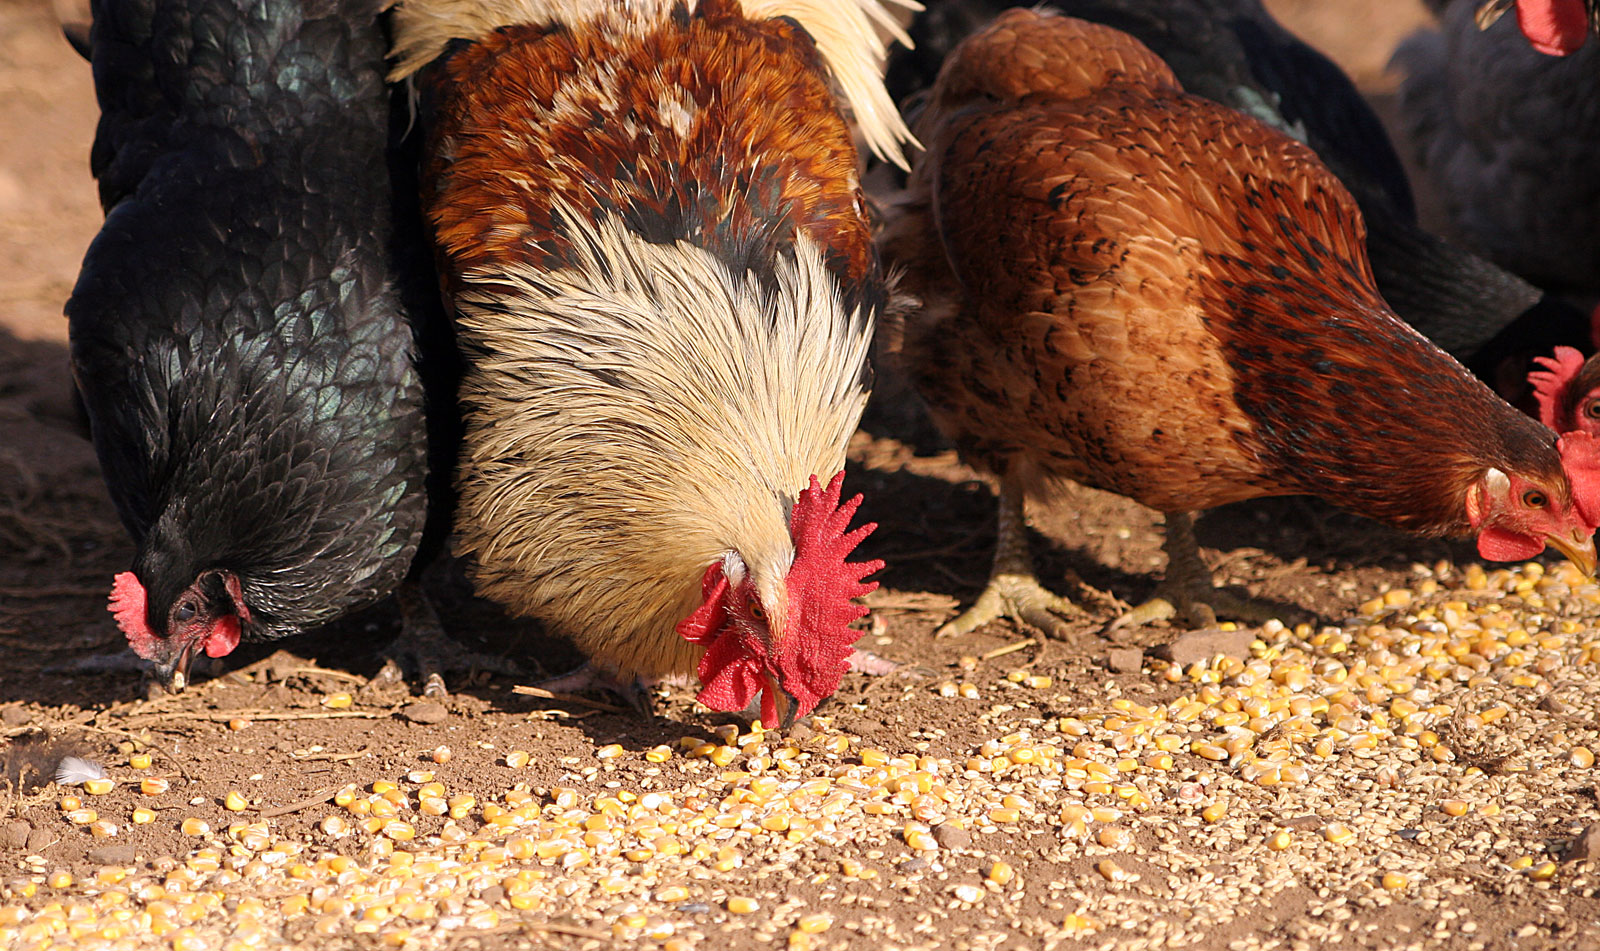
- Check the birds that you are purchasing and the other birds on the property to see if they seem bright, alert and active – In most cases, it isn’t possible, but if the seller allows you to observe their flock before purchasing, take the opportunity! Many sellers restrict access to protect their birds from potential disease. Healthy chickens typically have bright red combs, vibrant feathers, and are actively foraging or scratching around. (Note: dull, withdrawn, or hunched chickens are usually unwell and should be avoided).
- Listen and look for any signs of illness or symptoms – If the chickens you’re considering purchasing don’t appear bright, alert, or well, they could be sick. Always ask the seller if the chickens are molting or being bullied by other birds, as these factors can affect their appearance. Be cautious of chickens showing signs such as swollen or sealed-shut eyes, swelling around the sinuses, sneezing, coughing, open-mouth breathing, nasal or ocular discharge, or watery, foamy eyes—these could indicate an upper or lower respiratory infection. Missing feathers don’t always mean disease, as there are many reasons a bird might have patchy or missing plumage.
- Observe the appearance of the birds you’re wanting to purchase – If the birds appear ruffled with feathers that don’t seem neat or smooth, they may be unhealthy or infested with lice or mites. Inspect the birds carefully. However, remember that patchy or missing feathers do not necessarily indicate sickness. Various factors can cause feather loss, including malnutrition, bullying from flock mates, over-mating by a rooster, broodiness in hens, animal attacks, injuries or even molting. Check the birds’ legs for signs of health. Healthy legs should be smooth, clean and free from swelling or heat. Birds with encrusted, raised, or thickened scales likely have Scaly Leg Mites. Swelling of the foot pad accompanied by a circular scab is often a sign of Bumblefoot, a staph infection. Swollen legs, feet, or toes could indicate a broken bone, frostbite or even a chronic illness.
- Check the muscle on either side of the breast bone – Assessing a bird’s weight is crucial when determining its overall health. One key indicator is the keel bone, a thin bone running down the breast to the belly. If you can feel more than an inch of the keel bone, the bird is likely underweight. However, if you can barely feel it, feel only a small portion or cannot feel the keel bone at all, the bird is likely at its ideal weight.
If the birds exhibit a few minor health concerns, you might choose to bring them home to nurse them back to health. However, whenever introducing any new birds—whether they appear healthy or not—it is critical to quarantine them for at least 14 to 30 days. Birds can carry and spread diseases even if they seem active and healthy, as symptoms may emerge later due to the stress of moving to a new environment.
Quarantining new birds is an essential biosecurity measure to protect your existing flock. While many diseases can be treated, some are incurable and remain with the bird for life. These diseases can easily spread from bird to bird through droppings, feathers, dander, respiratory secretions, or other bodily fluids (e.g., blood, saliva). Importantly, a bird no longer showing symptoms does not guarantee the disease has been cured, as most poultry diseases are chronic and incurable.
How to tell males from females
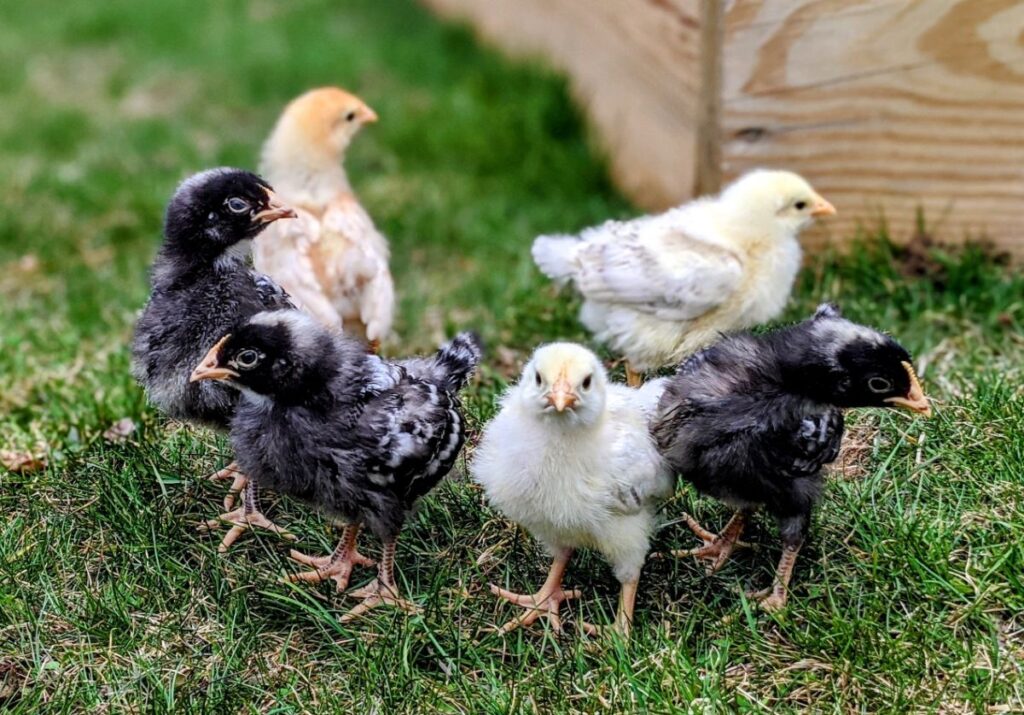
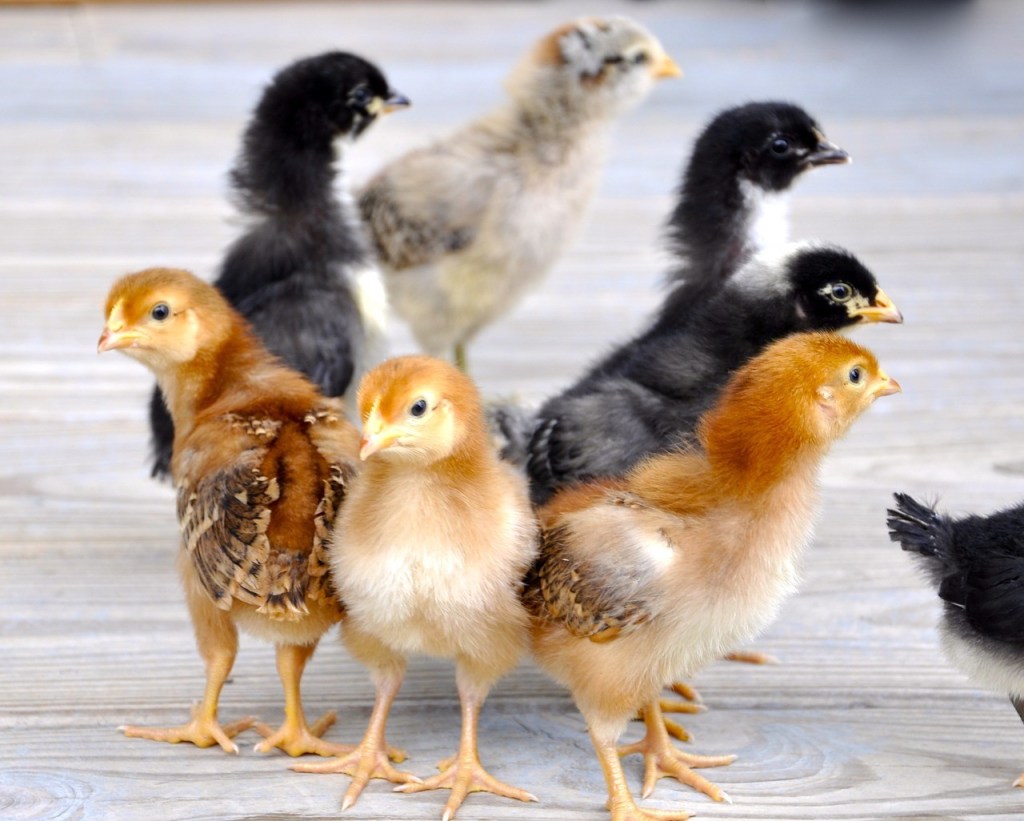
When purchasing new chickens, it’s important to distinguish females (pullets) from males (cockerels/roosters), especially if you’re seeking birds for egg production. By the time chickens reach 4–6 months of age, it is generally much easier to identify pullets versus young cockerels based on their physical characteristics and behavior.
Usually by 5 to 6 week mark:
- Cockerels are typically larger than pullets, particularly their bigger feet and legs.
- Generally, cockerels will develop a larger, more vibrant red comb and wattles, while pullets will have smaller, paler combs and wattles.
- Most young cockerels tend to be more curious, bold, and “in your business,” while pullets are typically shyer and more reserved, keeping to themselves.
- Pullets generally have faster feather growth, especially in their tail and wing feathers, whereas cockerels tend to grow their feathers more slowly on their bodies.
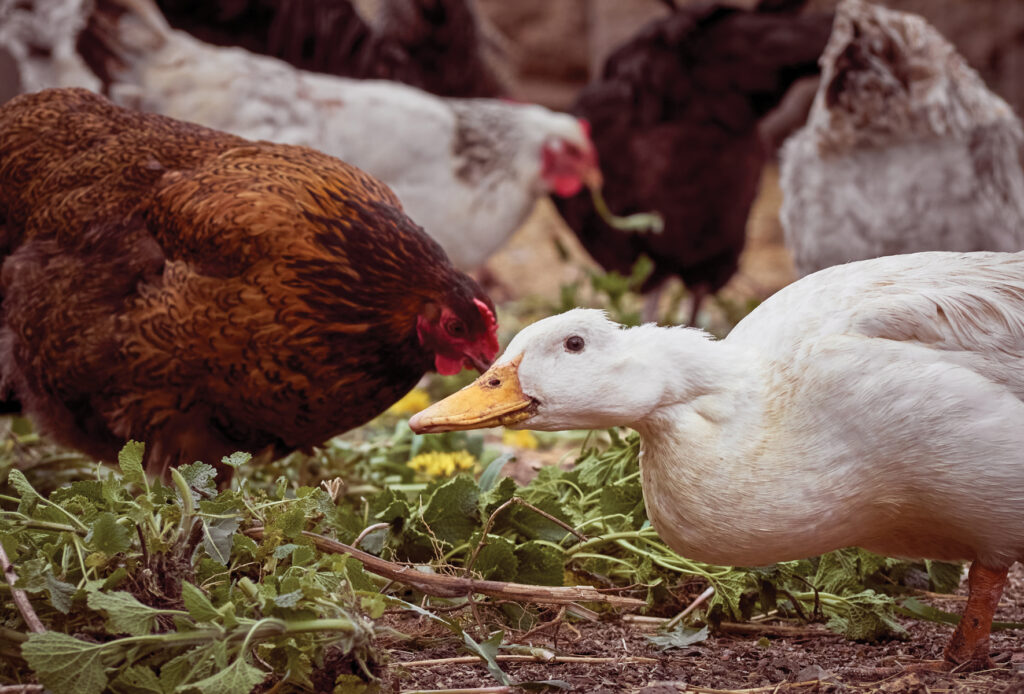
When purchasing ducks or other waterfowl, it’s important to differentiate females (ducks) from males (drakes), especially if you are looking for egg layers. By the time they are 4–6 months old, ducks and waterfowl can often be sexed based on their vocalizations. Female ducks have a distinctive loud “quack” whereas drakes produce a deeper, raspier “aakkk-aakk” sound. For geese, females are generally smaller and more reserved, while male geese (ganders) are larger, hold their heads high and are more likely to honk or scream loudly.
When buying new turkeys (young turkeys are called poults), it’s important to distinguish the females (Jennies) from the males (Jakes when young and Toms when matured), especially if you’re looking for egg layers. Around 6 to 8 months of age, turkeys are generally easy to sex. Jakes will have a more bare neck and a larger snood (the fleshy protuberance on the top of the head), while Jennies will have fluffy feathers along the back of their necks. Jennies also have smaller snoods and smaller feet compared to the Jakes.
- Both male and female turkeys will strut, though for different reasons. For females, strutting can be a dominance behavior, while for males, it is primarily a mating display.
Introducing a new bird(s) to an established flock
Introducing new chickens to your flock requires patience—don’t rush the introduction process! Even if your new chickens don’t require quarantining, avoid placing them directly into the existing flock. Doing so can lead to unnecessary stress, fighting, injuries and potential death. So instead, give both groups time to adjust and get to know one another. Allow your current established flock to see but not physically interact with the newcomers. A simple way to achieve this is by housing the new chickens in their own pen placed next to the existing one. This setup lets your flock become familiar with the newcomers without any stress or physical contact.
Another option, though less commonly used, is to place the new chickens in a large dog crate inside the existing pen. This can be more confrontational and the newcomers could be injured from getting pecked through the bars, so proceed at your own risk when choosing to do this method.
Regardless of the approach you choose, keep the new chickens visible but separated from the main flock for at least a week. This adjustment period is key to reducing conflict and ensuring a smoother integration process.
After quarantining and visually introducing your new chickens, it’s time for the physical introduction:
- Free-range chickens – If your chickens are free-range, start by letting the new chickens out first to explore and free-range on their own. After a few minutes, open the coop to release your existing flock and allow them to join the newcomers.
- Pen-kept chickens – If your chickens are kept in a pen, follow a similar approach. Place the new chickens into the pen first, then release the existing flock to interact with them. Be sure to watch them all to be sure that no one gets injured.
When introducing chickens, it’s important to understand the dynamics of the flock’s strict pecking order. This hierarchy dictates each bird’s social standing and with any disruption—whether due to the loss of a flock member, injury, illness or the addition of new birds—can lead to fighting among the flock and potential bullying of the newcomers.
When to Intervene:
- Step in only if a chicken appears injured or begins to bleed, as this can escalate aggression and lead to serious or permanent injuries and potential death.
- If the fighting between flock members or the newcomers becomes excessively intense or continues for more than a few minutes, separate the groups and attempt the introduction again the next day.
Moving Into the Coop:
- Once the chickens can stay together peacefully outside, it’s time to move the new chickens into the existing coop where they’ll live amongst the others.
- At the end of the day, after free-ranging or spending time in the pen, most new chickens will naturally follow the flock into the coop and settle in. If they don’t and try to return to their old crate or pen, gently pick them up and put them into their new coop.
- At night, gently transfer the new chickens from their crate or set-up pen into the existing coop. This nocturnal move allows them to wake up as part of the flock and helps solidify the integration much better.
Photos/pictures provided by Google
If you own any of the photos above and wish to have them removed, please email the rescue’s email.
Chicken Chickens Poultry health
Last modified: December 4, 2024

